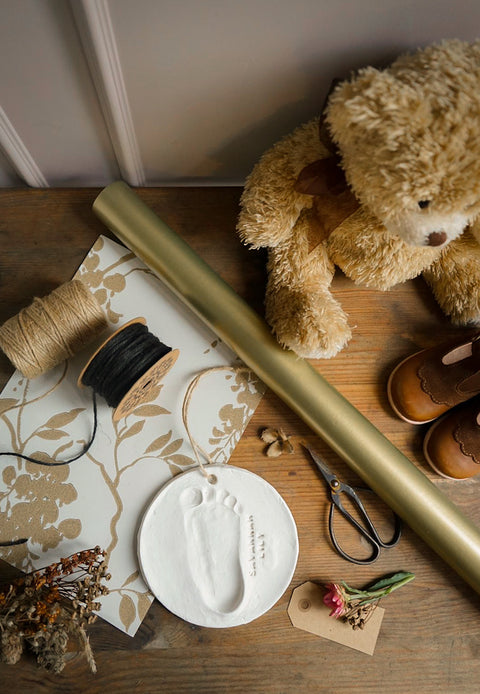
This pair of shoes is such an adorable addition to my baby's wardrobe. They are well made and durable, but not overly stiff which is great as she learns to walk. Cute and very well designed too!
DIY Clay Footprint:
We wanted to share the sweetest little DIY keepsake idea with you. A beautiful footprint of your baby’s foot to treasure and keep for years to come. Perhaps for yourself or maybe as the perfect gift for baby’s grandparents 🤎 Follow the easy steps below and capture a small but special moment in your baby’s life.
Step 1:
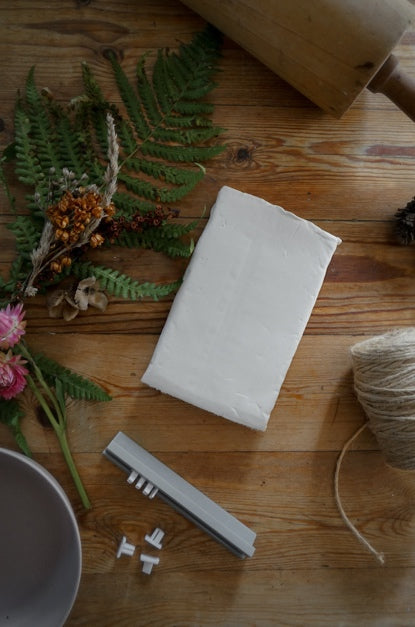
Find all the materials needed:
- A clean dust free surface to work on
- A Packet of non-toxic Air-drying clay
- A rolling pin
- Letter stamps
- Natural string
- A felt pen, in the colors of your choice.
- A chopstick or straw to create the hole

Step 2:
Roll out the clay in a suitable thickness. We recommend approximately 0.5 cm/ 1.9 inches.
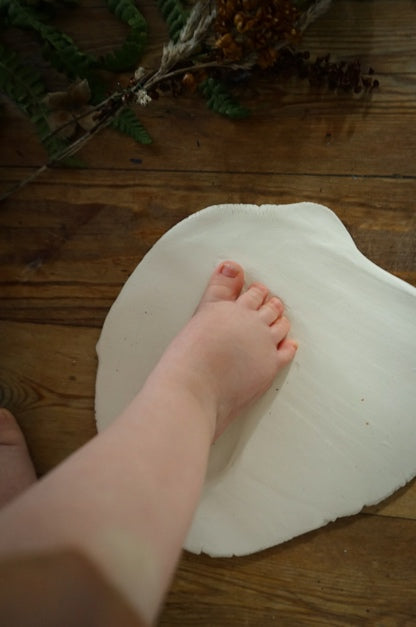
Step 3:
Press the baby’s foot straight down, and gently press the foot into the clay, to create depth of the footprint.
It is important that you do this step before doing the final round cutout, as the pressure of the foot can change the outer shape of your final round cutout – making it wonky looking.
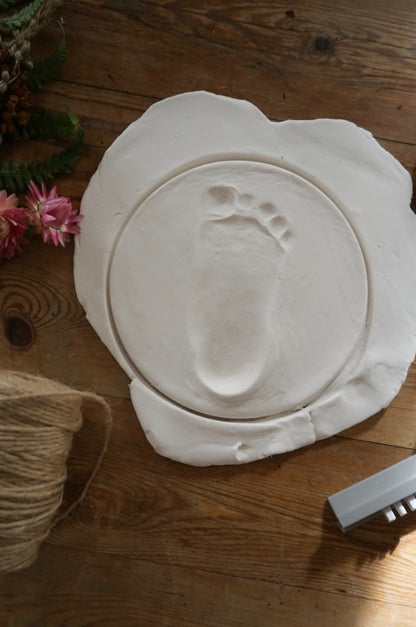
Step 4:
Take a suitable bowl or big cookie cutter and place it on top of the clay, making sure the foot is in the middle and that there is enough space (at least 2 cm/7.9 inches) from the edge of the foot to the border.
Now press down the bowl in twisting motions and let the bowl itself cut through the clay.
Peel away excess clay with your fingers or a regular kitchen knife.
Pad down the edges with your fingers with a few drops of water, to smooth the edges.
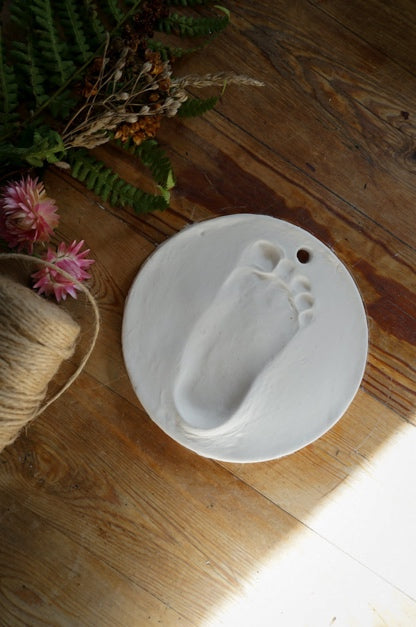
Step 5:
Create the hole approximate 1 cm/3.9 inches from the edge of the border with a straw or a chopstick.

Step 6:
Use your letter stamp to stamp in the name of your baby, while the clay is still wet.
Let the decoration dry. Read your instructions on the clay pack , for exact drying time.
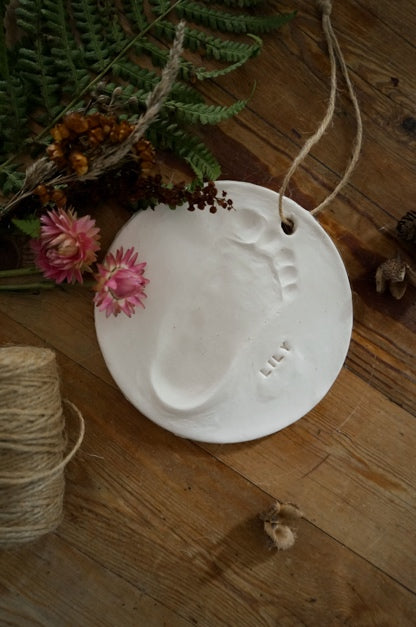
Step 7:
Cut a piece of string, in your preferred length, loop it through the hole and tie a knot, so you can hang it. Finally use a marker to write today ’s date or the age of your child on the backside.